Advantages of dried flowers
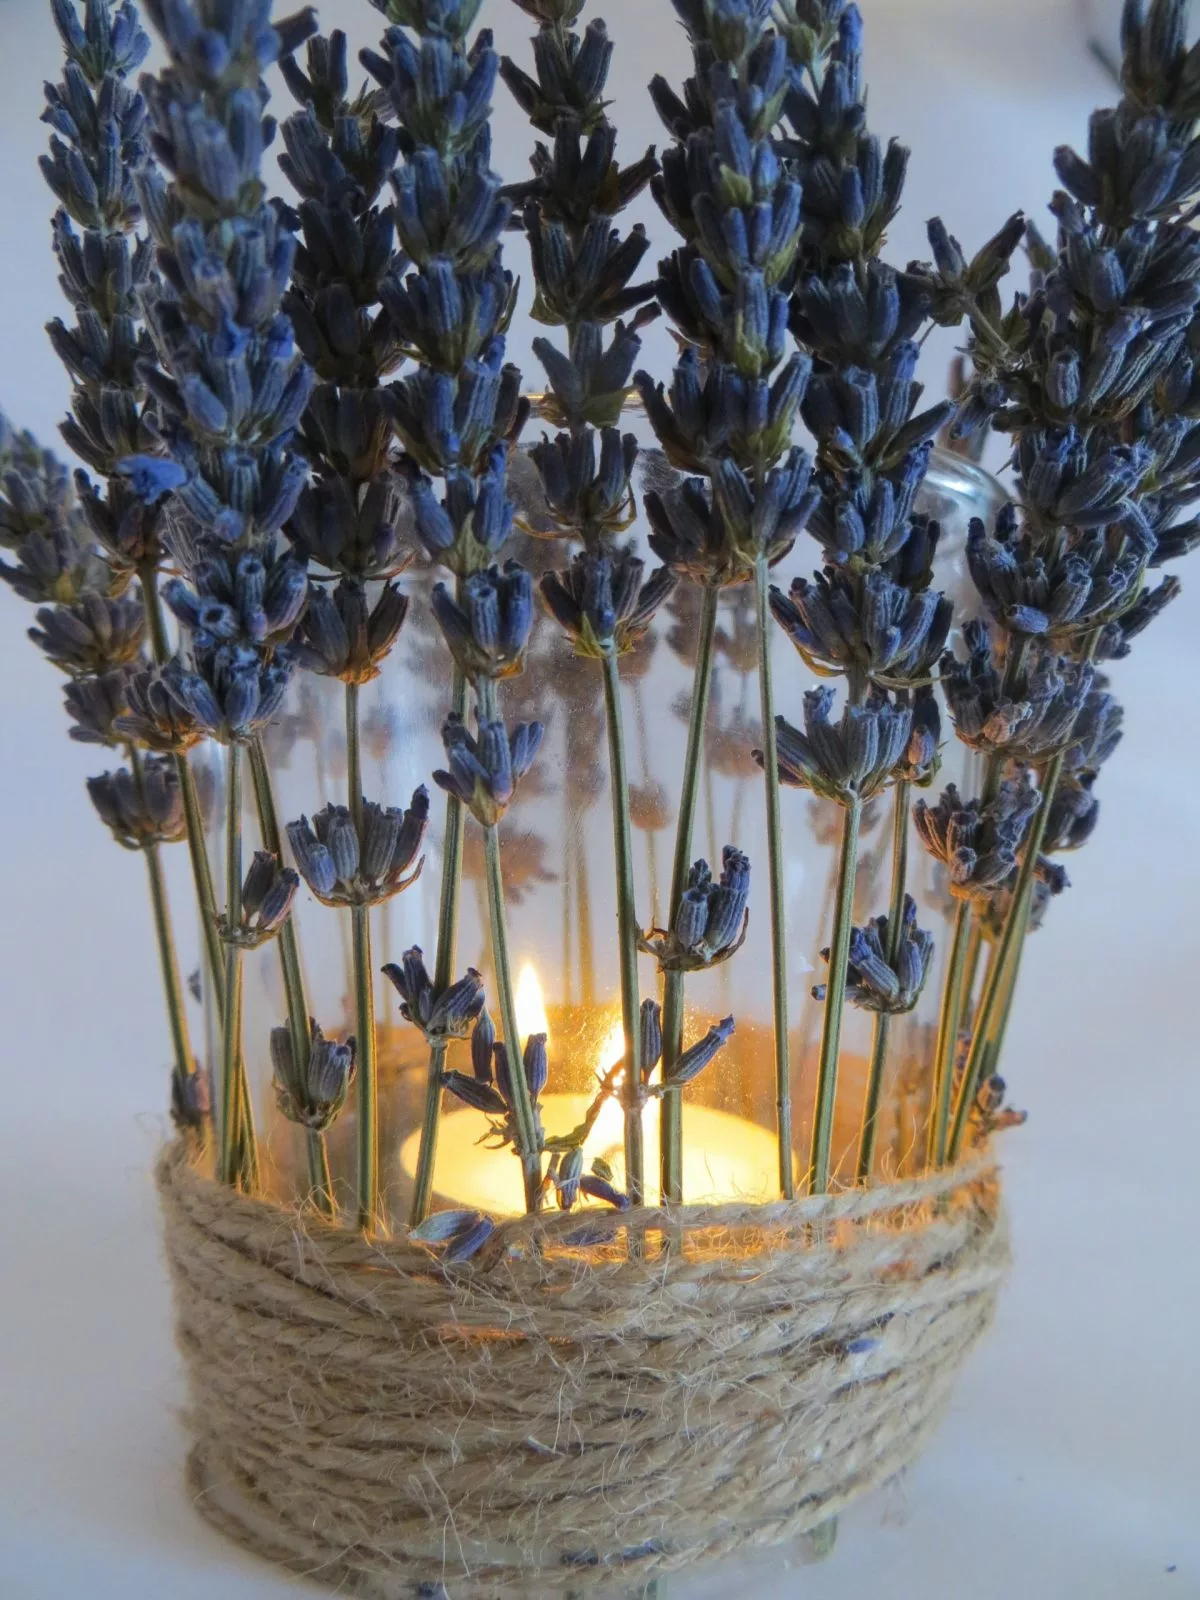
Dry flowers are not only beautiful, but also a good choice for the environment and for your wallet. They replace many polluting cut flowers. Then it is extra nice to also have a vase that is eco-friendly. A paper mache vase for dried flowers is a good choise.
Big advantage is that dried flowers don’t need water and a big advantage is that dried flowers weigh almost nothing. That makes transport more environmentally friendly. If you add a vase that does weigh, that advantage disappears.
The beauty and advantages of a paper mache vase
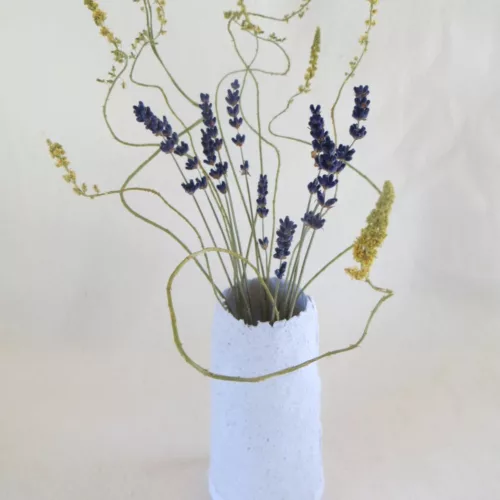
But most importantly, I wanted to use waste material and not buy another product from far away (read China). Therefore, I chose to make a papier-mâché vase from scrap paper that weighs almost nothing.
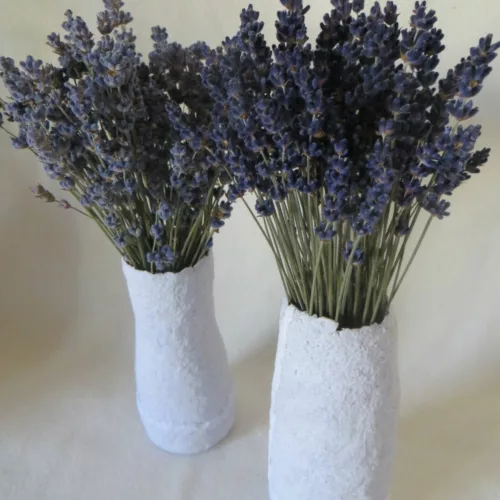
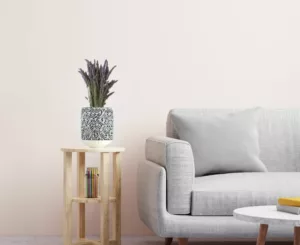
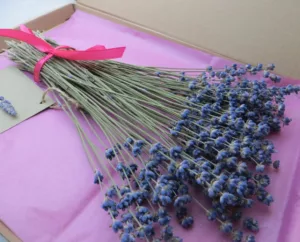
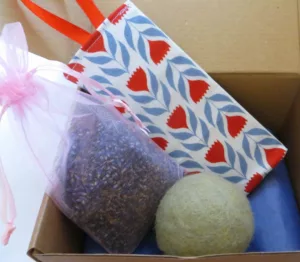
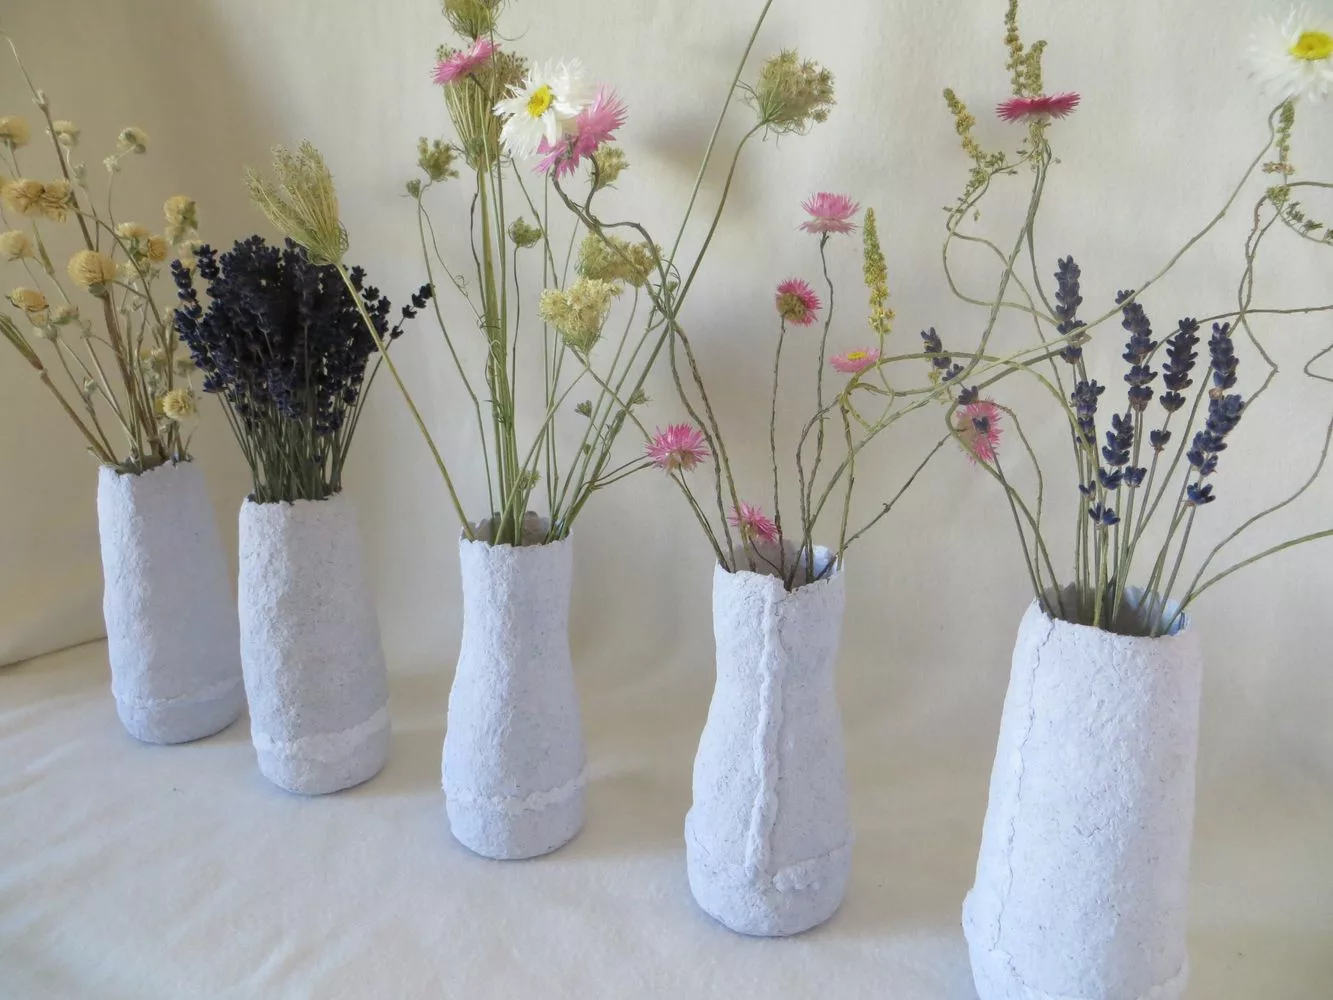
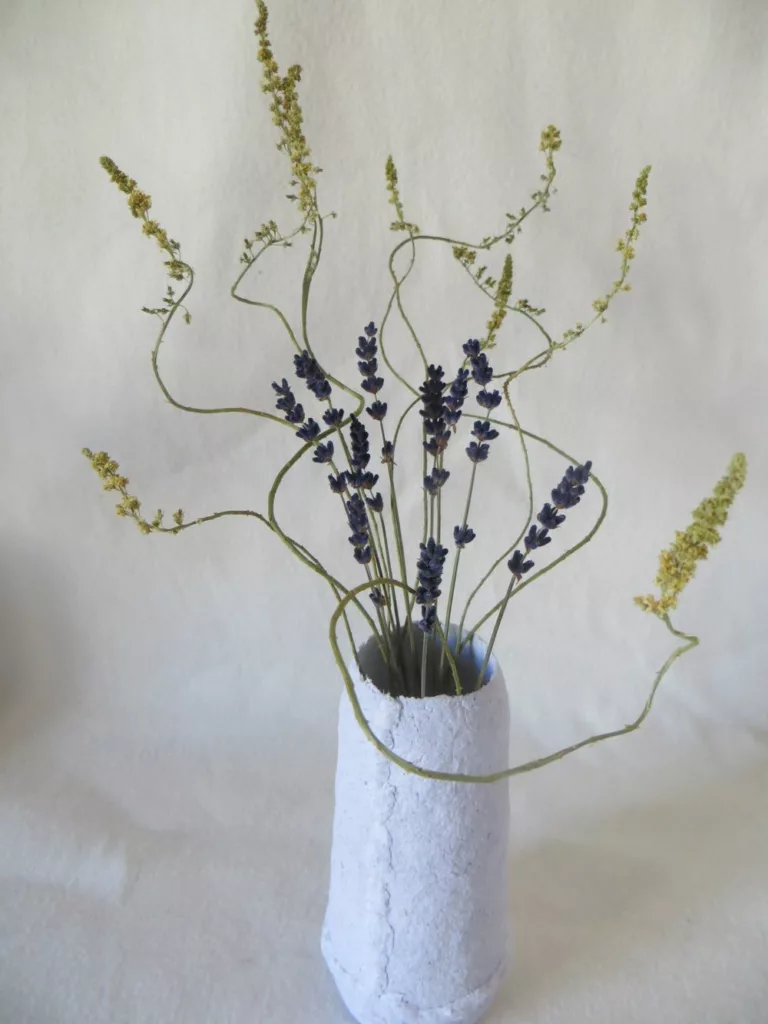
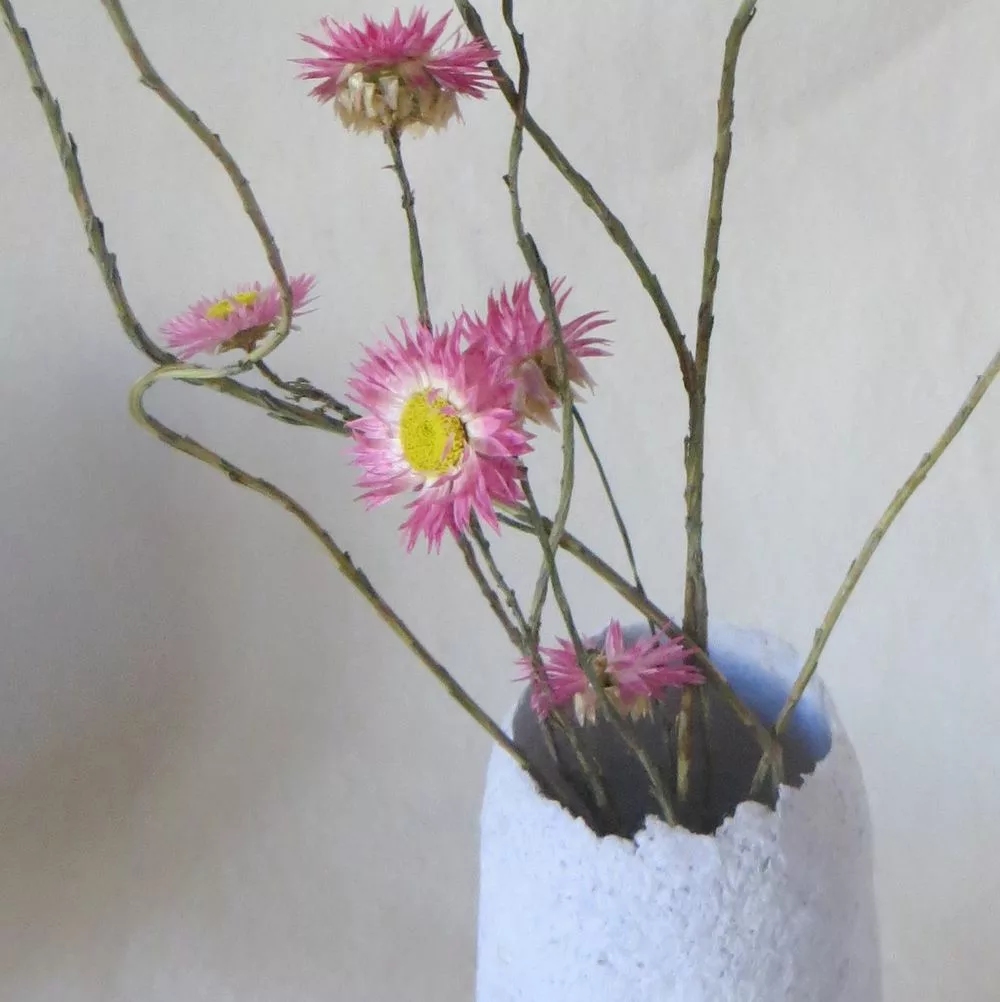
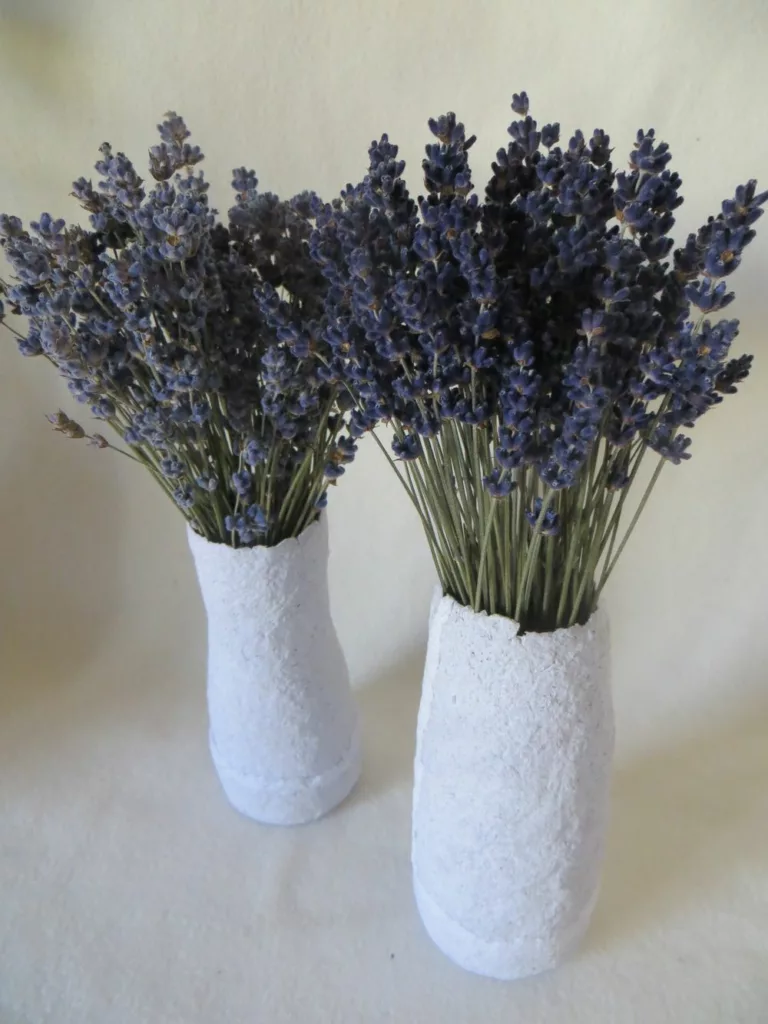
Here you can see the results. Some of them I started selling in my shop with my dried flowers and lavender. I don’t sell the vases separately, because with the time it takes to make them, it can’t really matter. And my goal is not to sell vases, but to sell my sustainable flowers. So I sell some paper mache vases along with my dried flowers and natural dried wildflowers from my own garden.
How does making a paper mache vase work?
I still had a pile of old paper such as copies of passports etc that I didn’t want to put in the waste paper bin for privacy reasons. The paper mache vase thus became quite a win-win situation.
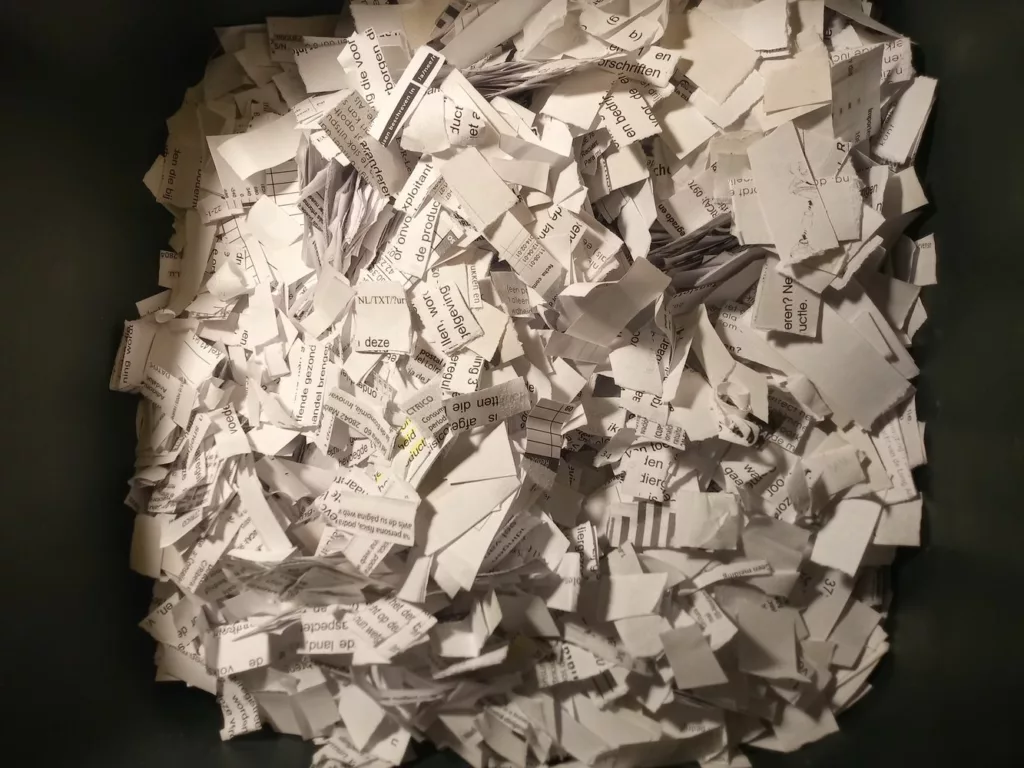
- shred old paper into small pieces
- soak the paper shreds overnight in plenty of water
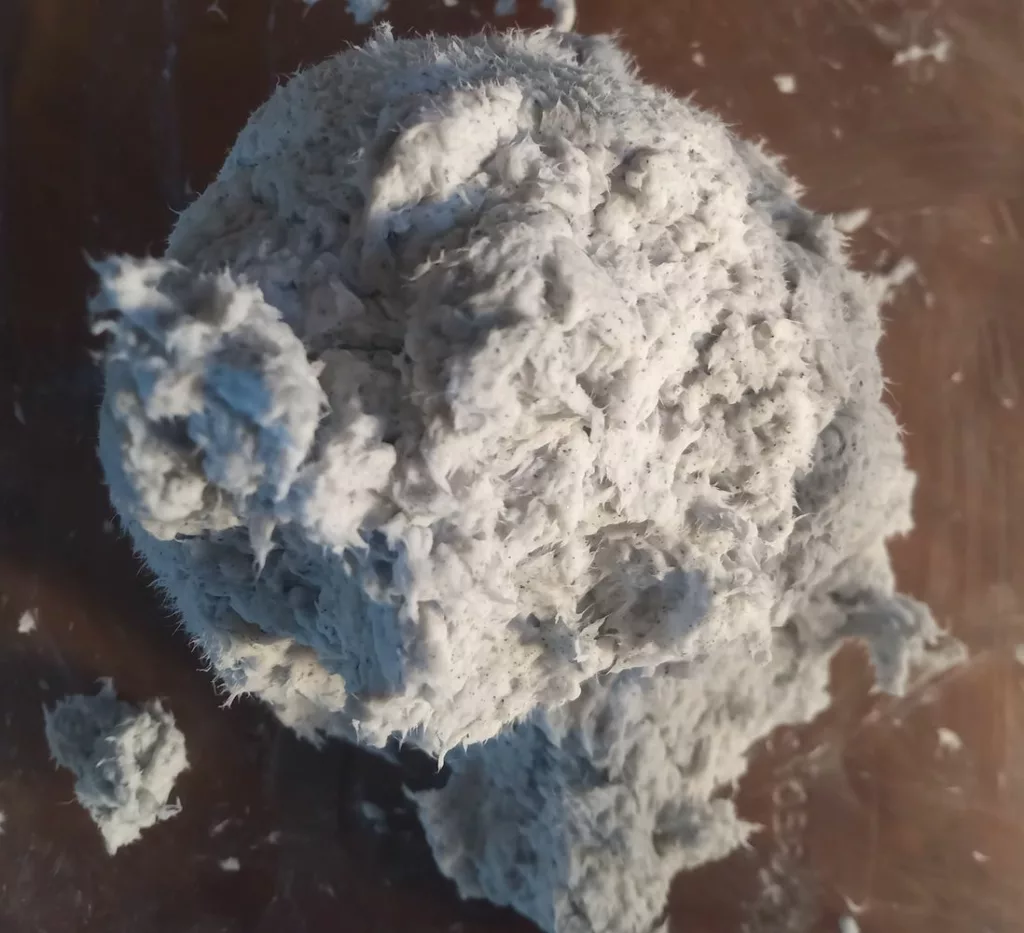
- mix the pulp with a mixer
- pour water and paper pulp through a towel and wring out the pulp well
- make the paper pieces smaller by hand
- mix the paper pulp with wood glue so that you have a flexible ‘dough’
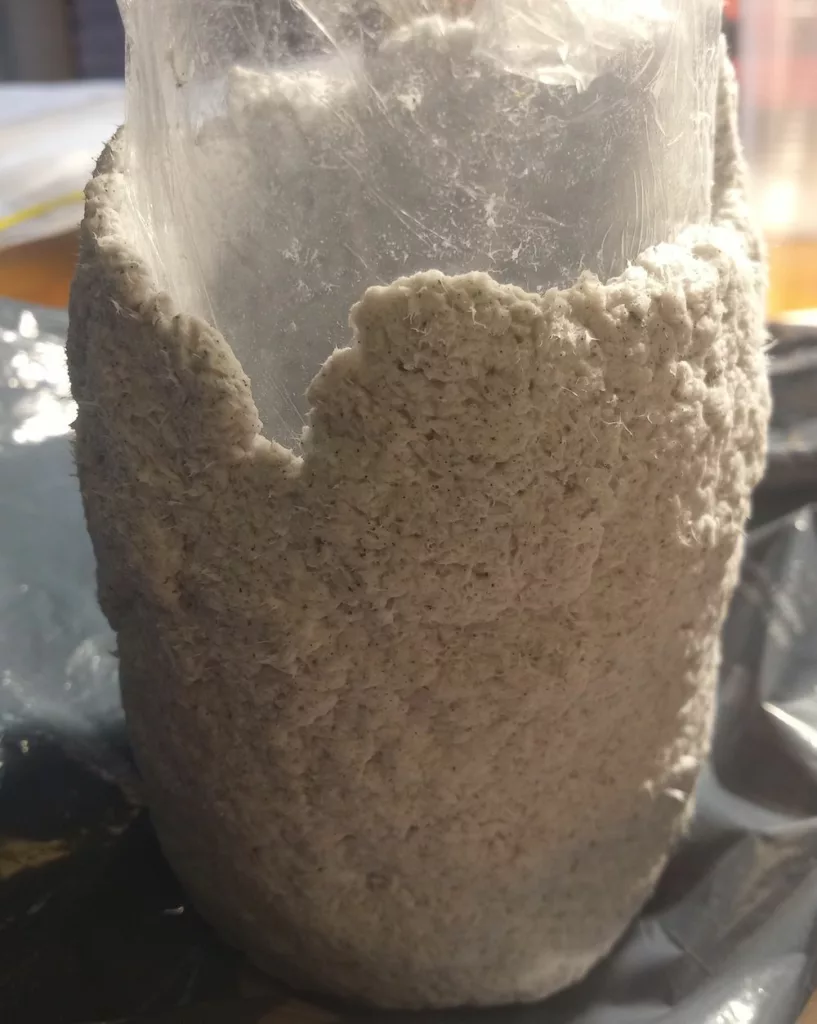
- line a glass or plastic vase with plastic foil or grease it with Vaseline
- push small pieces of the paper pulp mixture onto the vase, so that it becomes a homogeneous whole
- let the vase dry
- carefully cut the paper mache vase loose from the original vase
- glue the paper mache vase closed
- finish the edges and let the vase dry again
Want to know more? Dutch artist Debbie Wijskamp gives courses on making a paper mache vase. She does this in workshops and online.
Here you can find my paper mache vases with dried flowers. What do you think of them?